
When a lead jam occurs in a multi pen, try removing all but one of the leads from the lead storage tube. Most multi pens can safely hold 2–3 leads at once, but sometimes even two leads can get in each other’s way and cause a jam.
If removing extra leads doesn’t help, try the following variation of Technique 2.
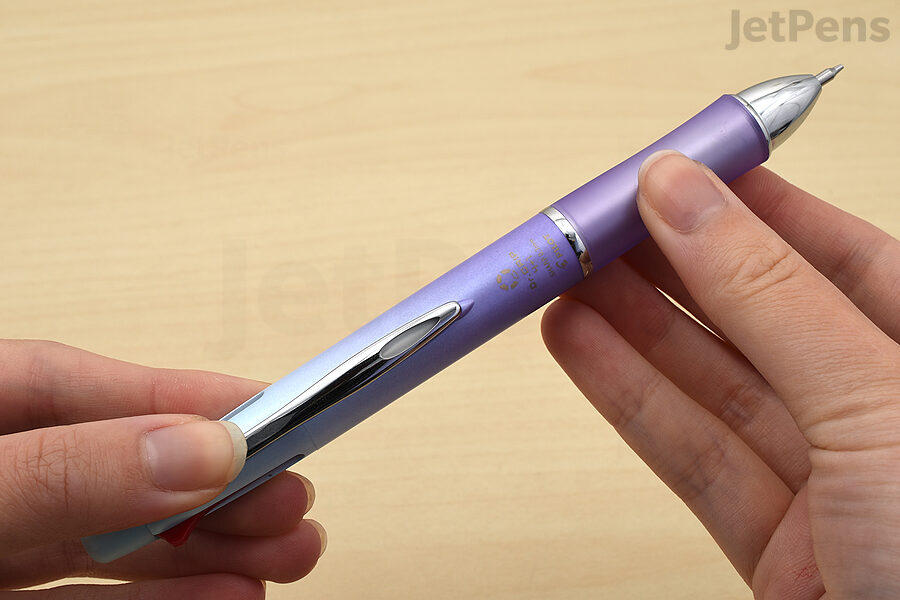
Hold the multi pen tip up and press down the push button for the pencil component.
Select the pencil component, turn the multi pen tip up, and hold down the button that extends the lead. This will open up the clutch mechanism inside the tip and make it easier to clean.
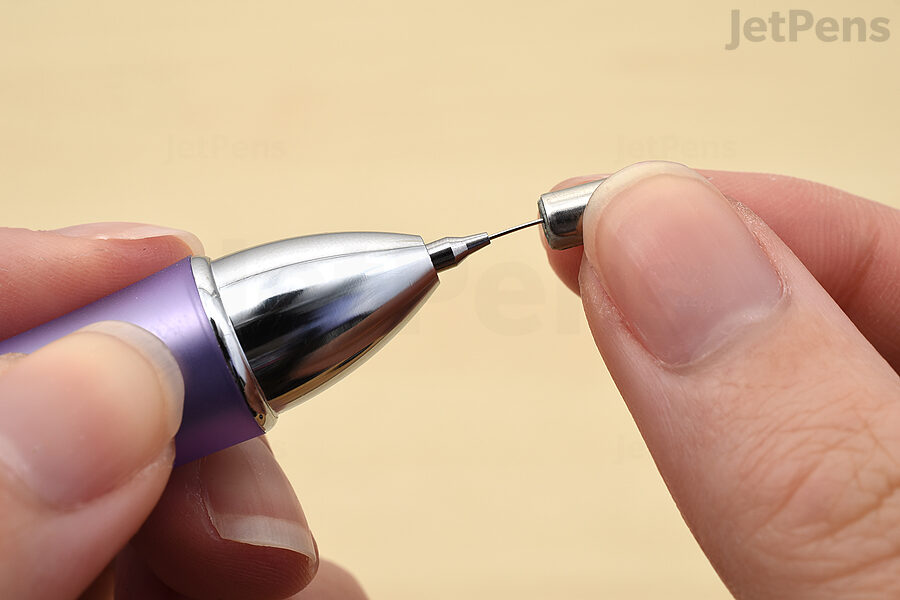
Use the clean-out rod in the tip.
Insert the clean-out rod into the tip of the pencil component. Slide it in and out of the tip several times, moving it around as much as you can to dislodge any bits of broken lead hiding inside the tip.
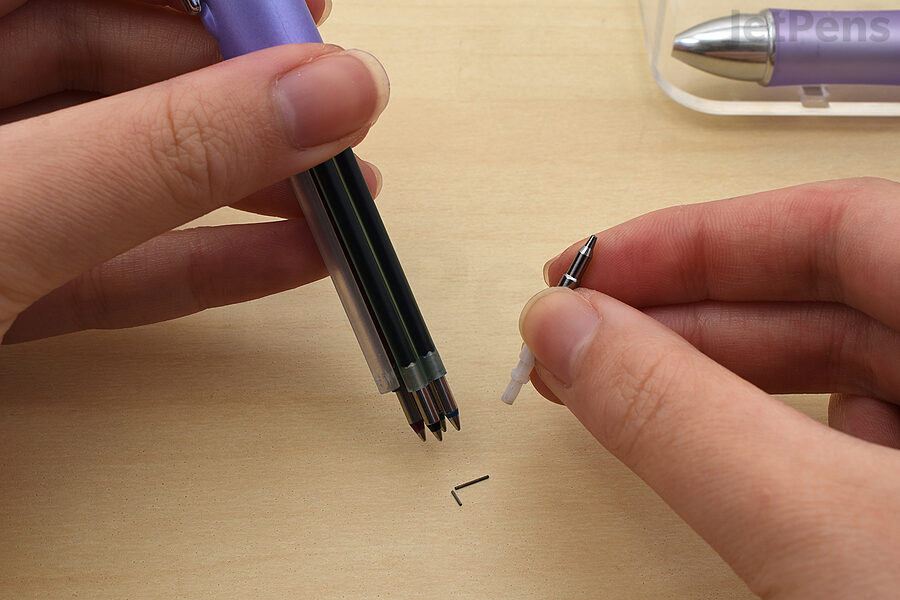
Dump out any bits of broken lead from the storage tube.
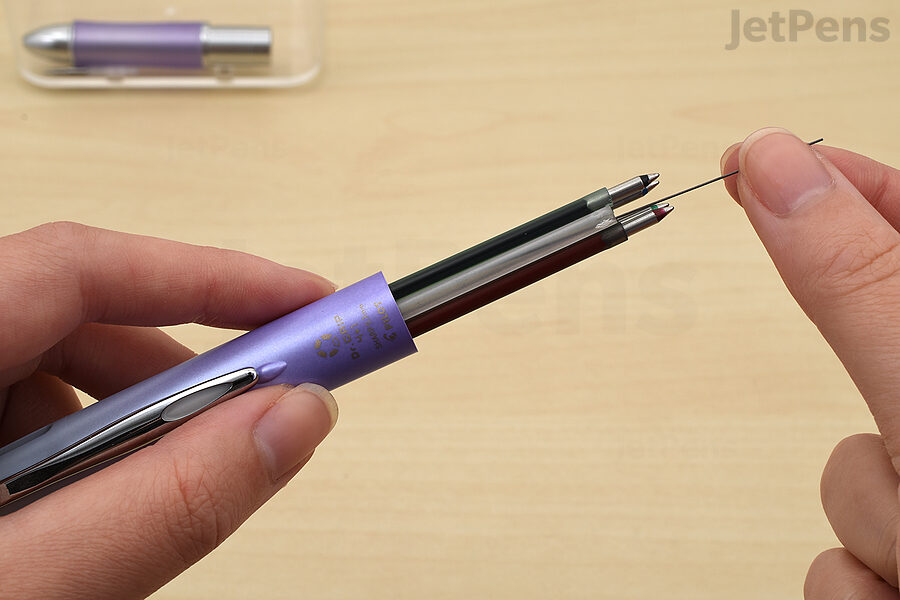
Add a fresh piece of lead to the pencil.
Add a lead to the pencil component, reinstall the component, and try extending the lead. If it works, you’ve cleared the lead jam!
Disclaimer: all images are owned and copyright by their respective owners and website (www.jetpens.com) and “https://madcity.supplies/blog” is for news, information, product news and reviews.